EELS
Caution
VERY ROUGH DRAFT - @bobleesj and Guoliang Hu took notes and pictures during training. This document will be updated with more detailed steps and images.
TODO:
- Add image for “EELS Scan” button (Step 2, Part 3)
- Better photo for STEM SI button
- Show what auto gain looks like
- Clarify zero loss extraction steps
- Add comparison images for beam not centered
This guide covers Electron Energy Loss Spectroscopy (EELS) on the Spectra 300. The process has two parts: calibration in TEM mode and STEM EELS spectrum imaging.
Prerequisite: Complete the STEM alignment procedure before starting.
Acronyms:
GIF- Gatan Imaging FilterEFTEM- Energy Filtered Transmission Electron MicroscopyZLP- Zero Loss PeakSI- Spectrum ImagingmulXY- Multifunction X/Y knobs on hand panel
Part 1: Calibration
Use a vacuum or thin amorphous carbon area for calibration.
-
Find a calibration area
- Locate a vacuum region or thin amorphous carbon area on the standard sample
-
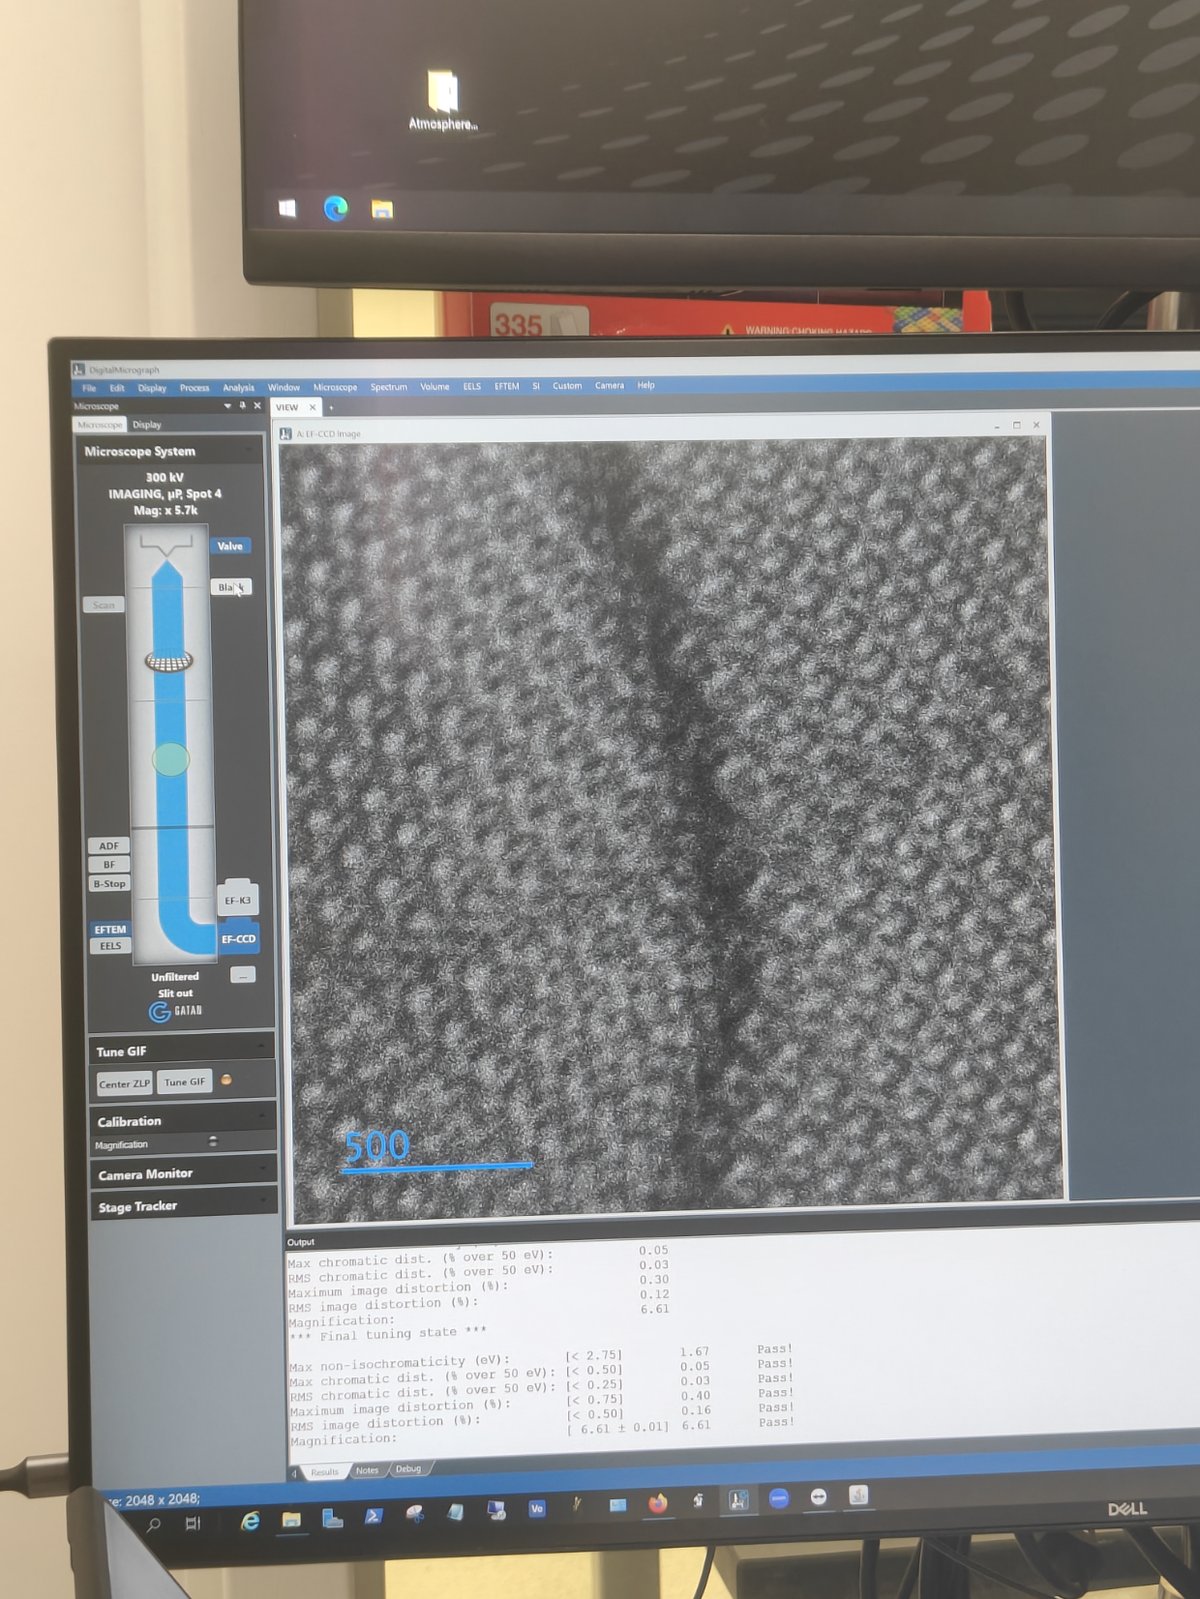
Open DigitalMicrograph
-
Open
DigitalMicrographon the left monitor -
If you see any dialog box, click
OKto dismiss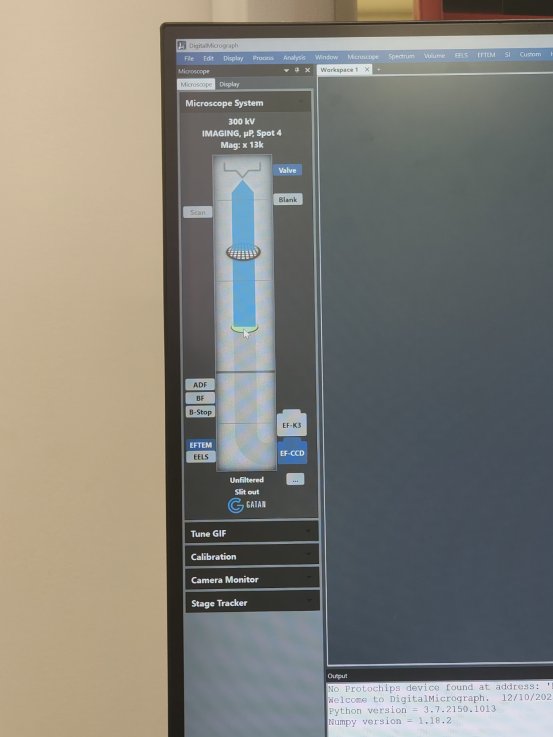
-
Click
EFTEM(Energy Filtered Transmission Electron Microscopy)
-
-
Open FilterControl
-
Go to
Help→User Mode→Power User -
Go to
Window→Floating Window→Filter Control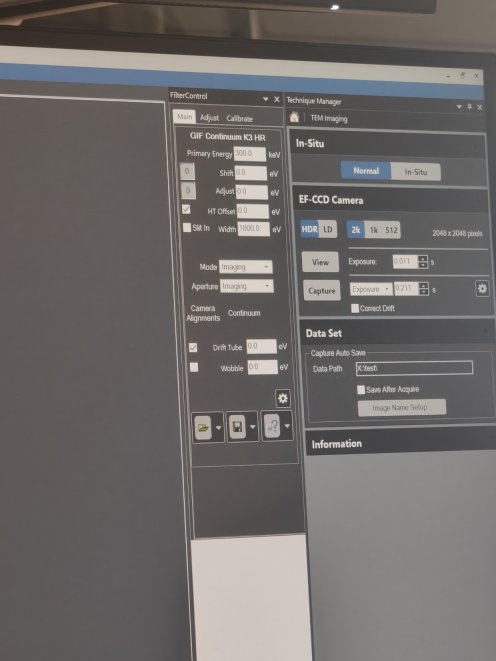
-
Notice the green circle in
TEMUIshowing EELS detector is active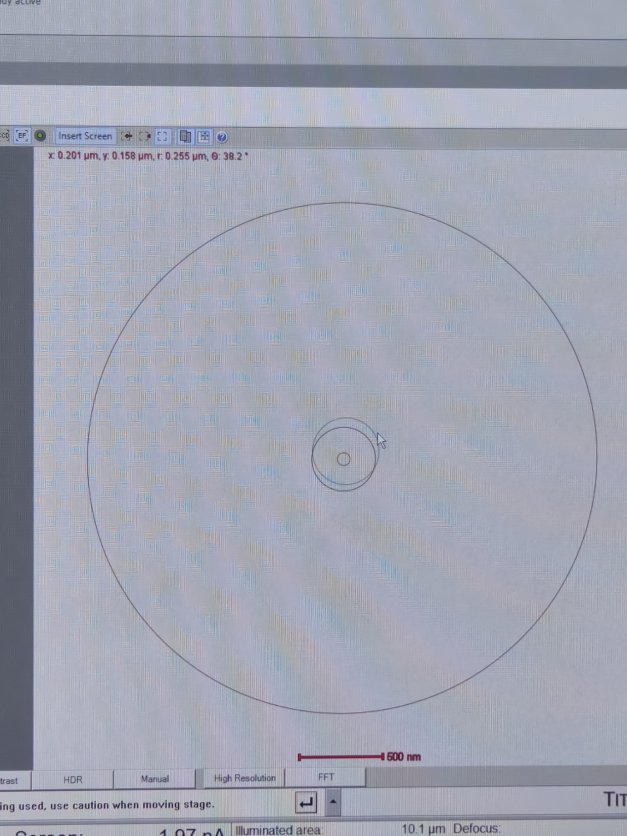
-
-
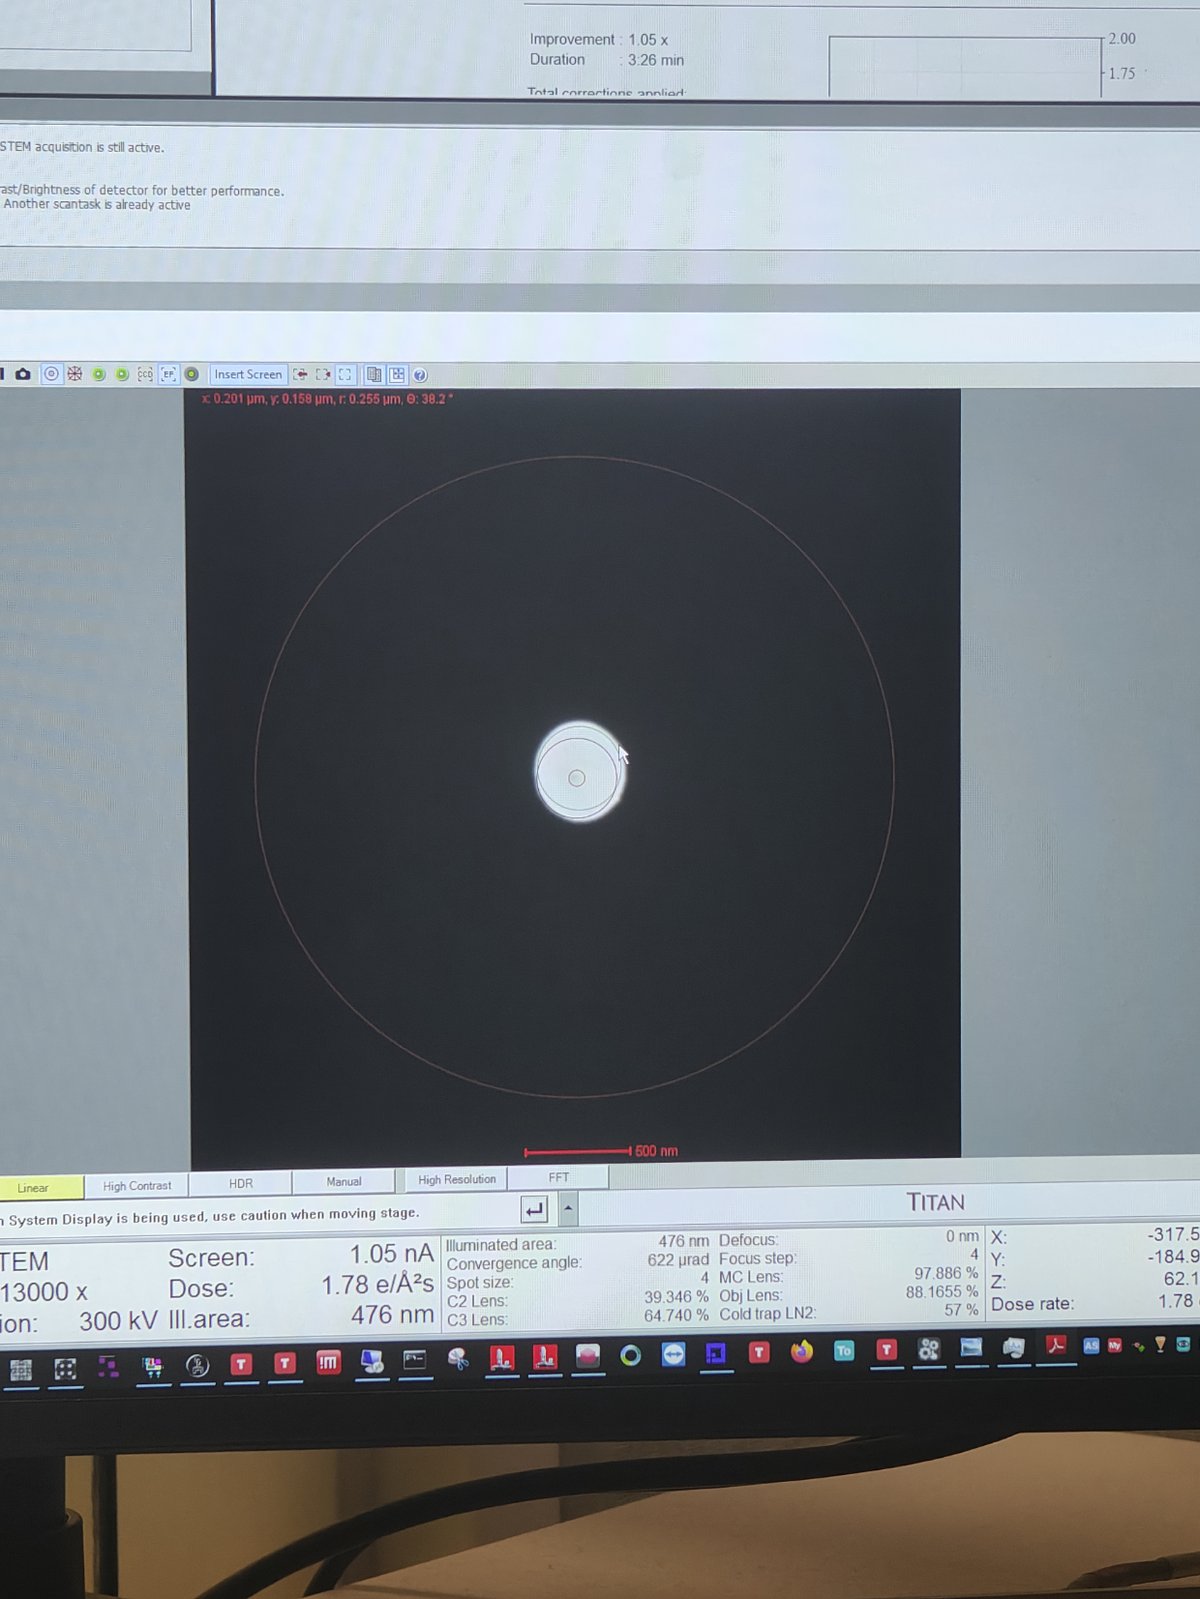
Set beam intensity
-
Converge the beam by adjusting the intensity knob
-
Lift the fluorescent screen by pressing
R1 -
Click
Viewin DigitalMicrograph -
Go to
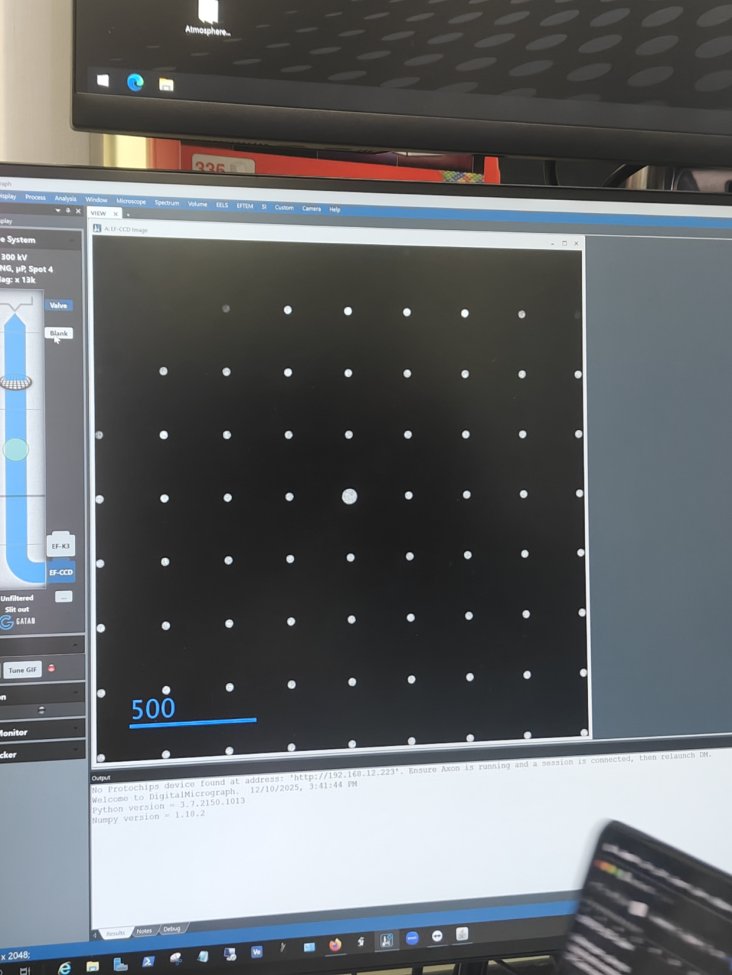
Filter Control→Aperture→Maskto verify beam positionCorrect intensity:
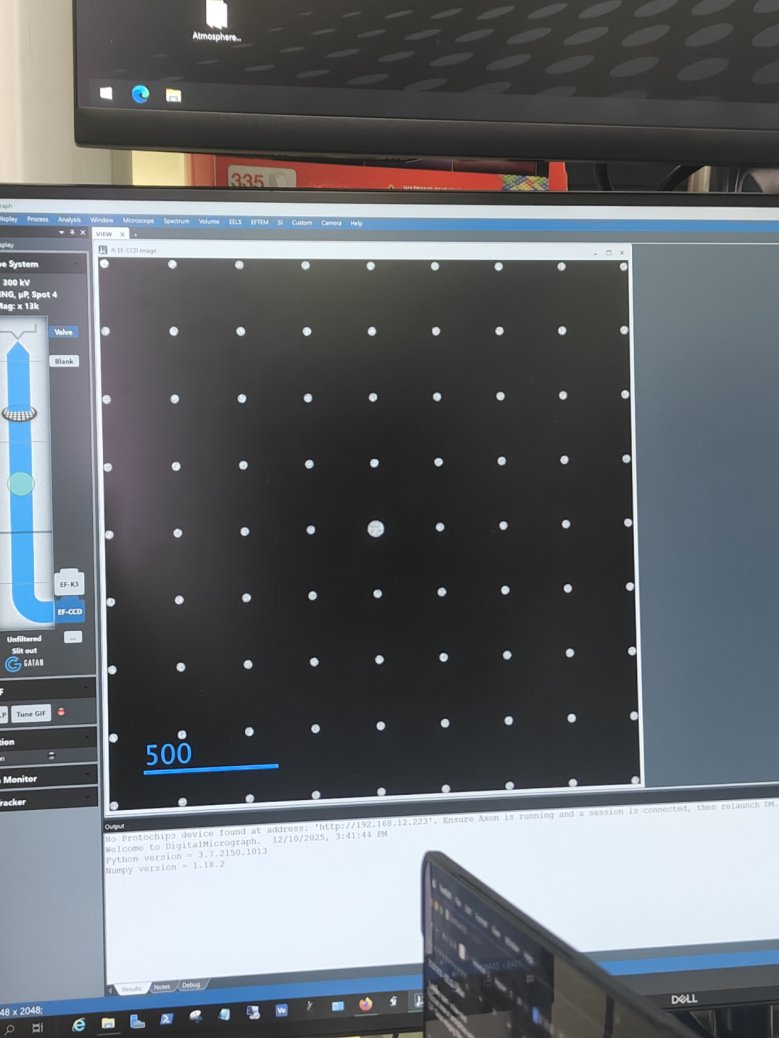
Too high intensity (oversaturated):
-
-
Center and tune the GIF
-
Click
Center ZLPin Filter Control -
Click
Tune GIF. Notice the message appears: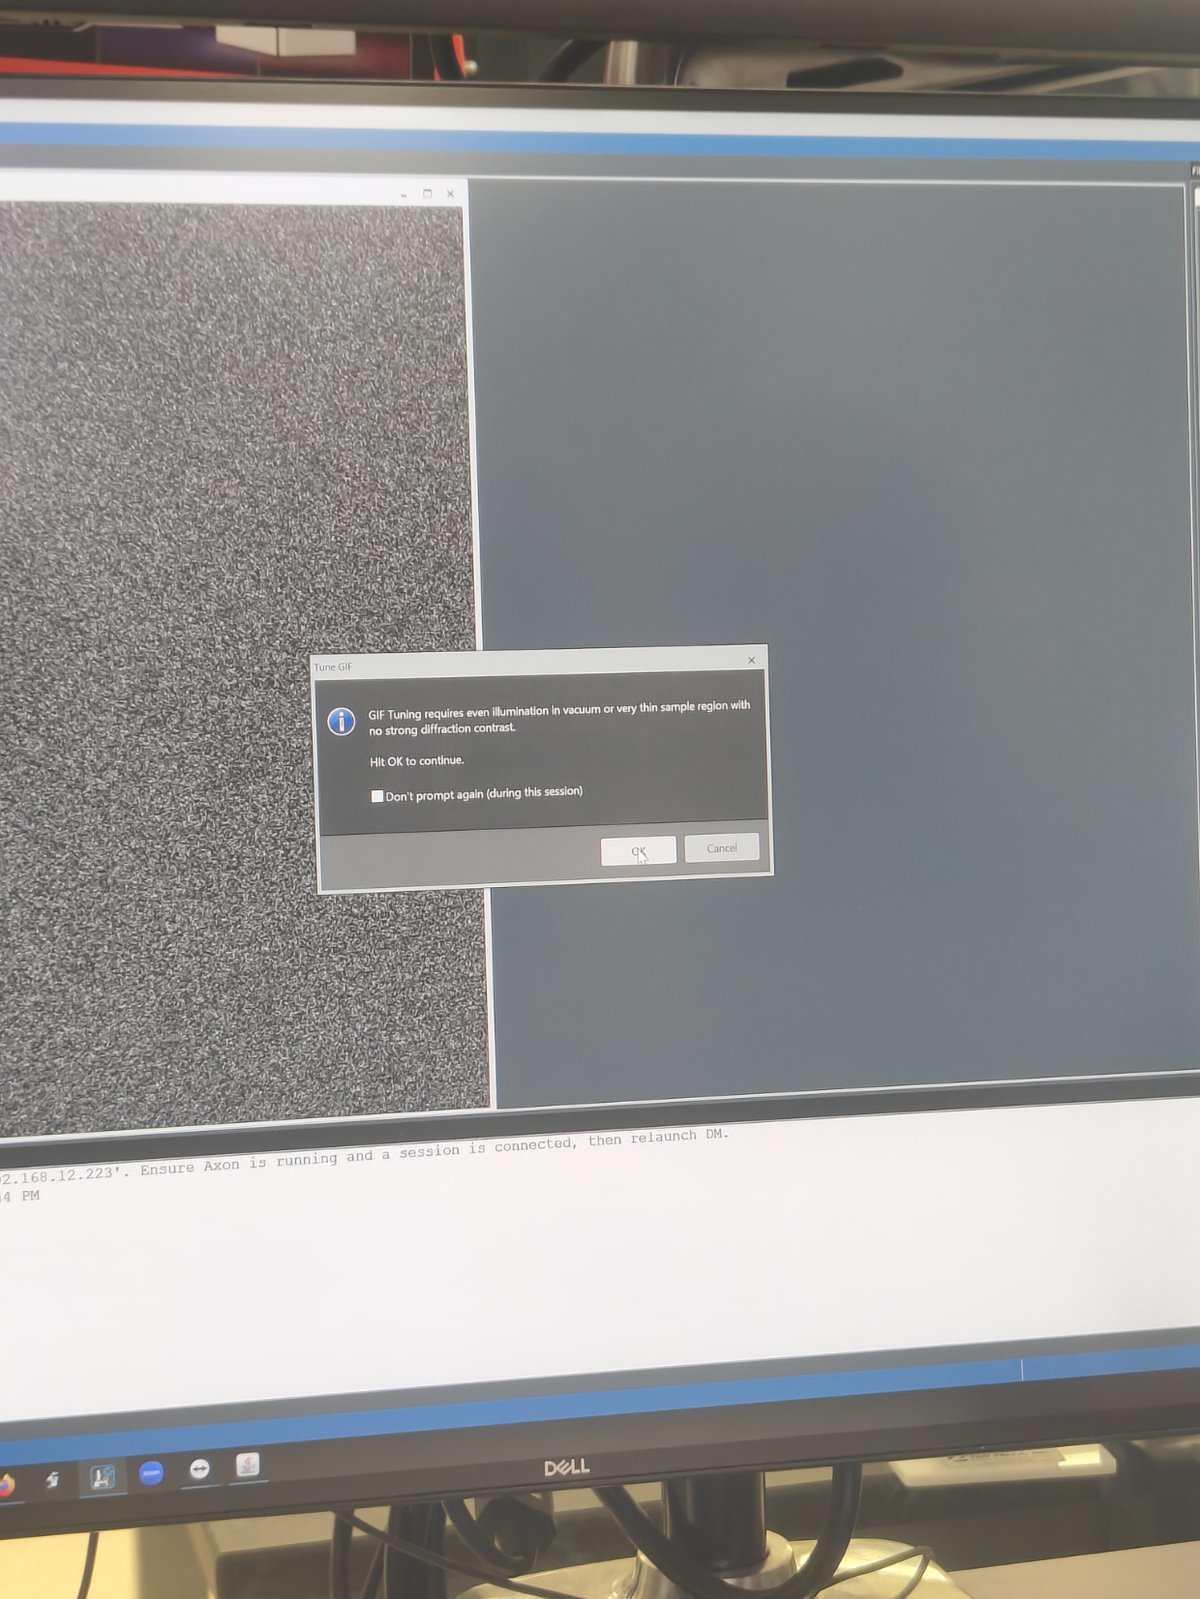
-
Click
OKto confirm
-
Part 2: TEM EELS acquisition
-
View the sample
-
Set magnification to ~17,000x
-
Click
Viewin DigitalMicrograph -
Select
EF-CCD Camera→Viewto see image real-time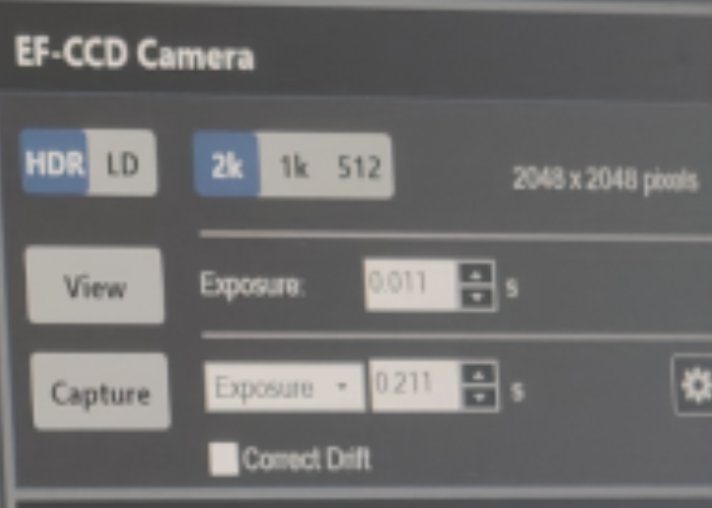
-
-
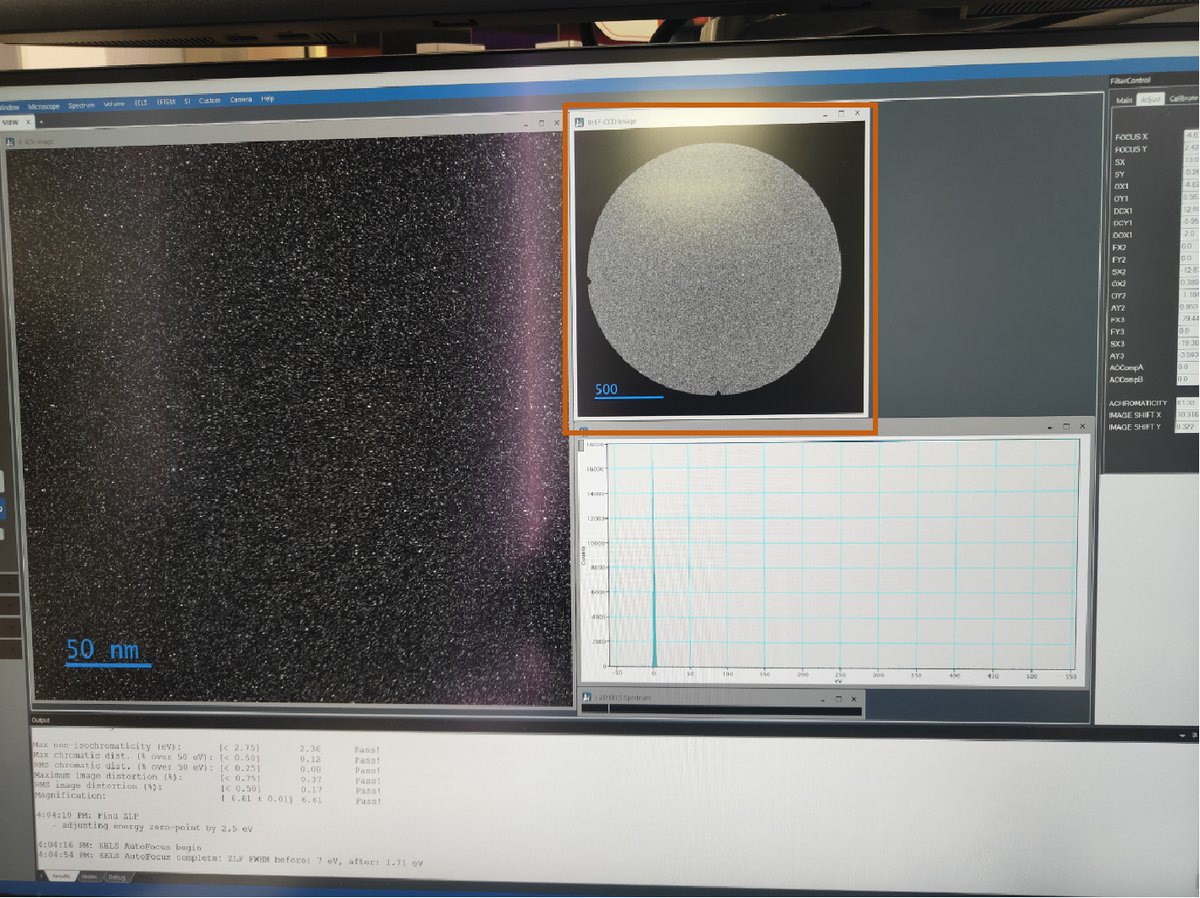
Acquire zero loss image
-
Go to
SingleMap→ clickZero Loss Image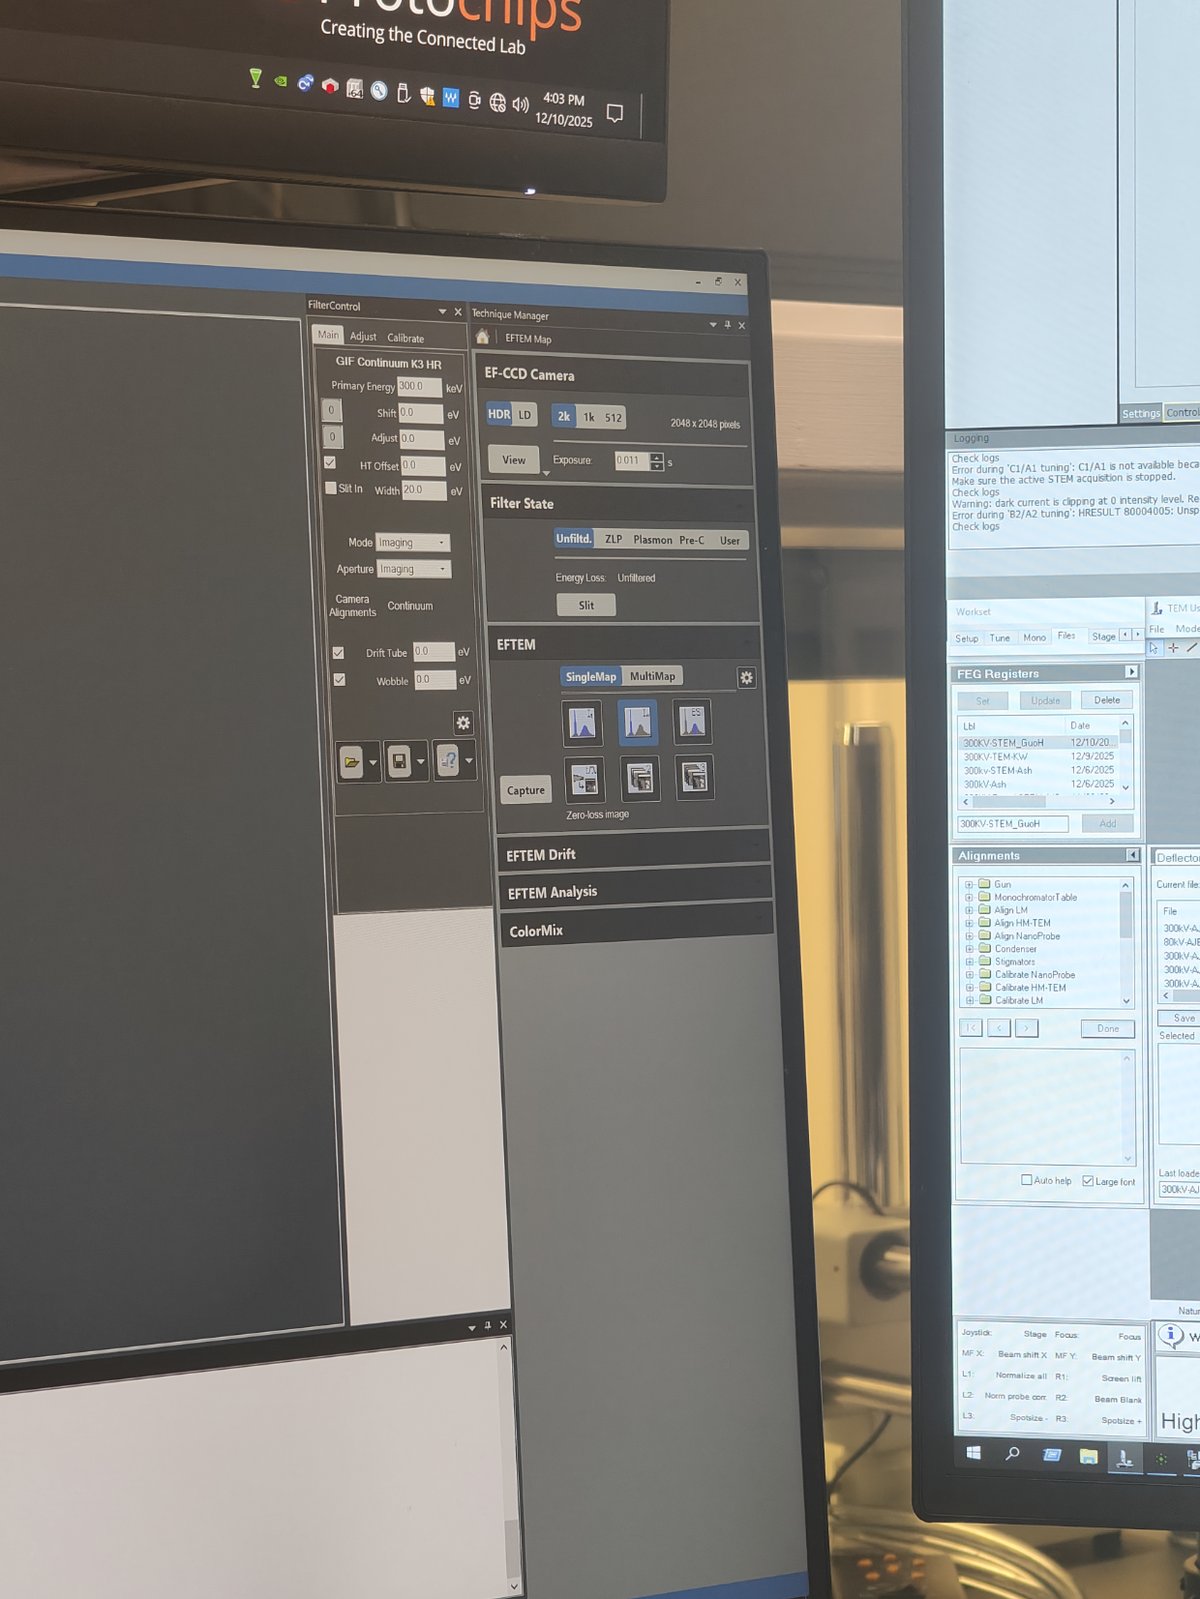
-
-
Switch to EELS mode
-
Click
EELSbutton to switch modes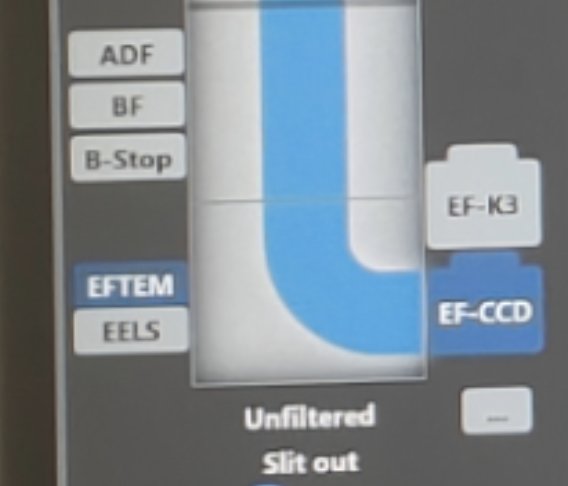
FIXME: use image where EELS is clicked
-
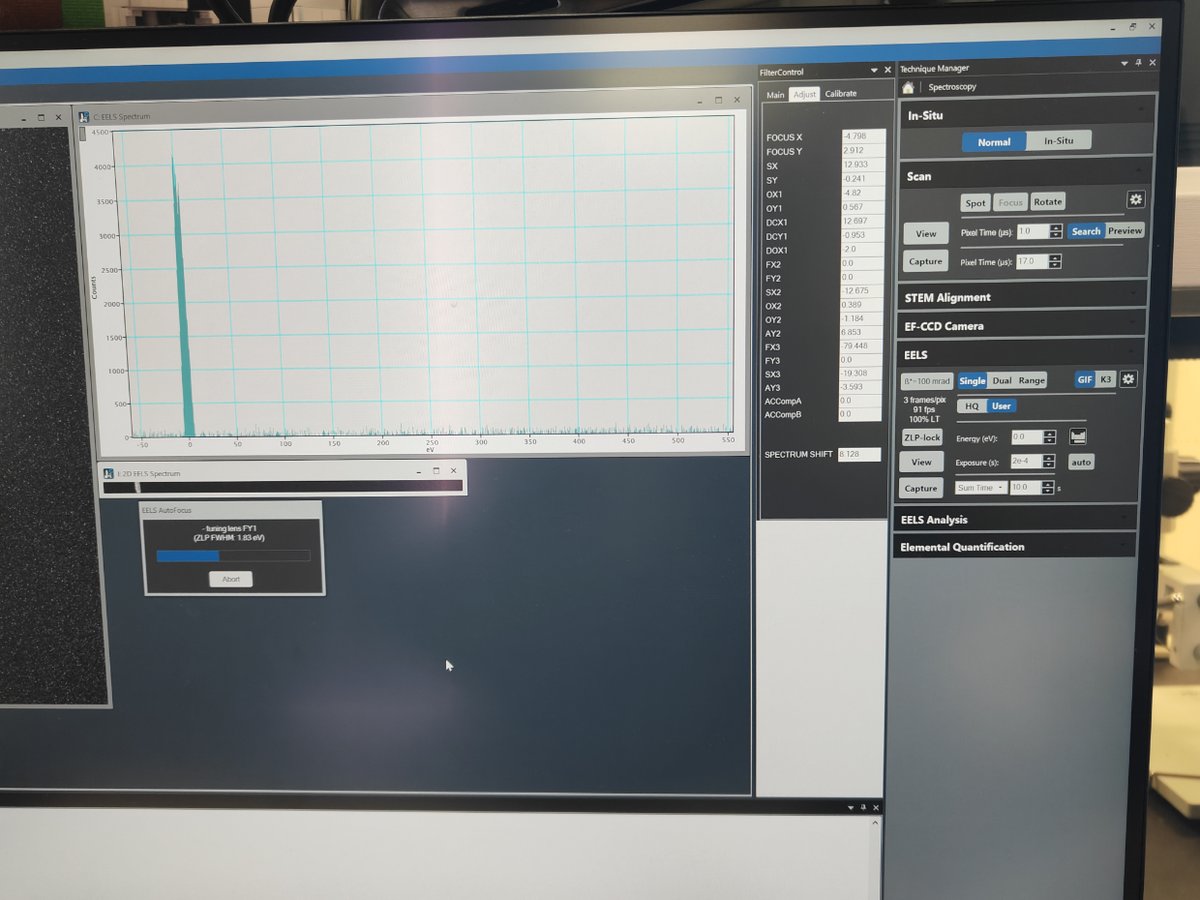
Notice the 2D EELS spectrum. Observe the plasma peak near the zero loss peak.
FIXME: what’s plasma peak?
-
-
Align the zero loss peak
-
Set exposure to 2e-4 in View mode
-
Click
Align ZLP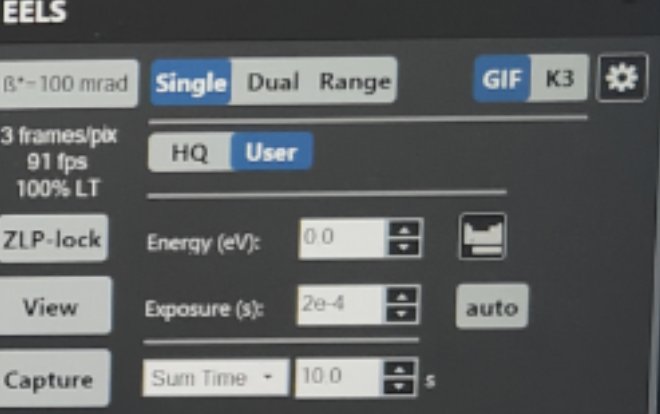
FIXME: where is ZLP click?
-
Part 3: STEM EELS spectrum imaging
-
Set camera length
-
In
Velox, change camera length to 29 mm or 37 mm -
Notice the beam size decreases
-
-
Enable EELS scanning
- Press
EELS Scanin the software
FIXME: attach image
- Press
-
Find a vacuum area
- Navigate to a vacuum region for initial alignment
-
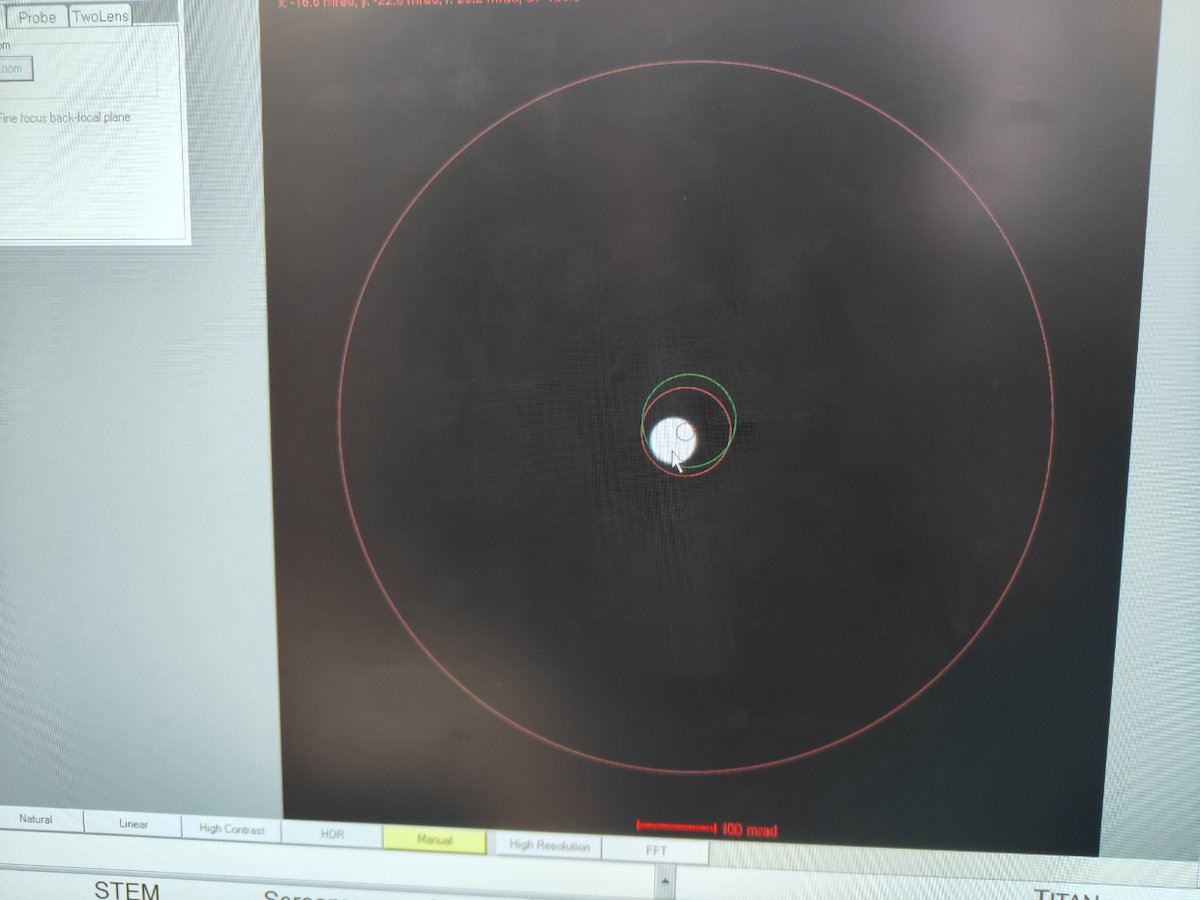
Center the beam
-
In EFTEM mode, use
mulXYknobs to center the beamBefore centering:
After centering:
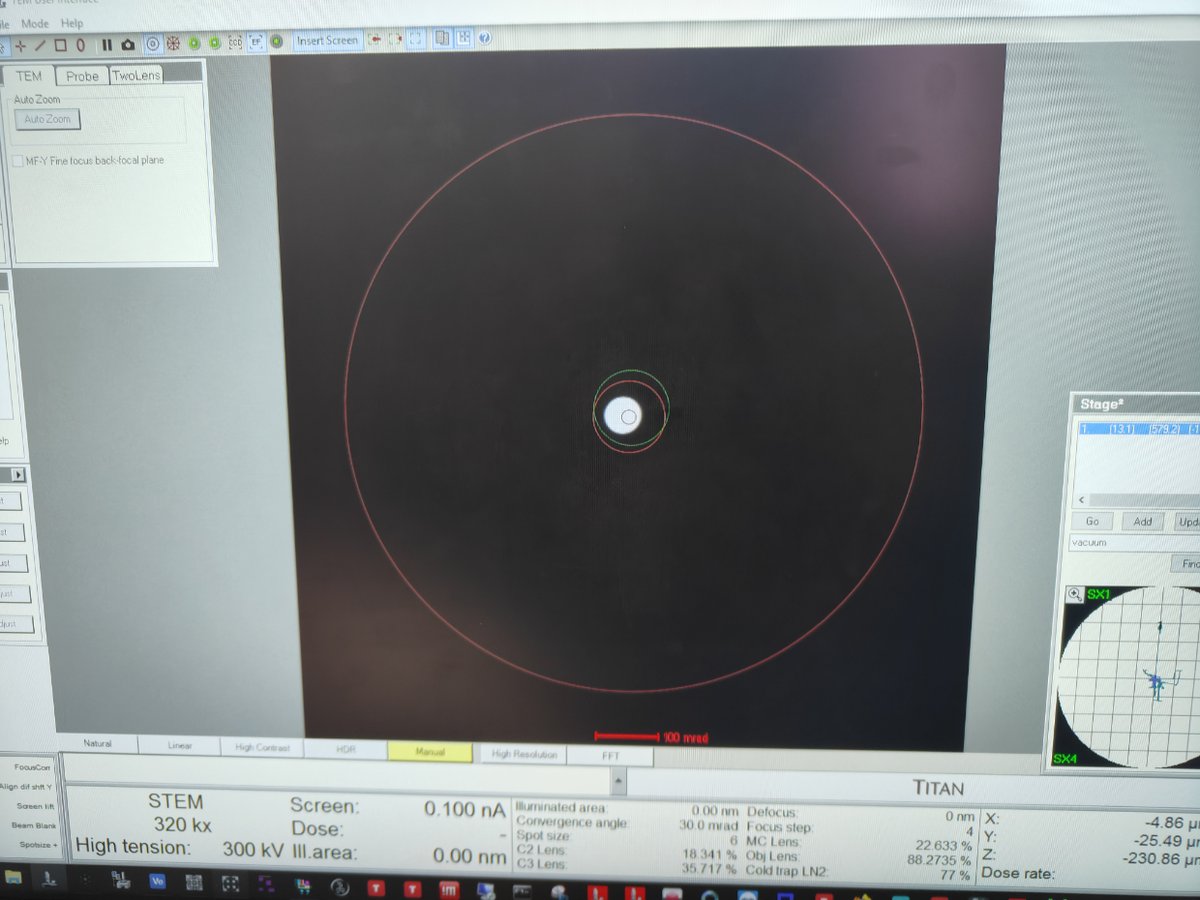
-
-
Switch to STEM SI mode
-
Click
STEM SIto switch to Spectrum Imaging mode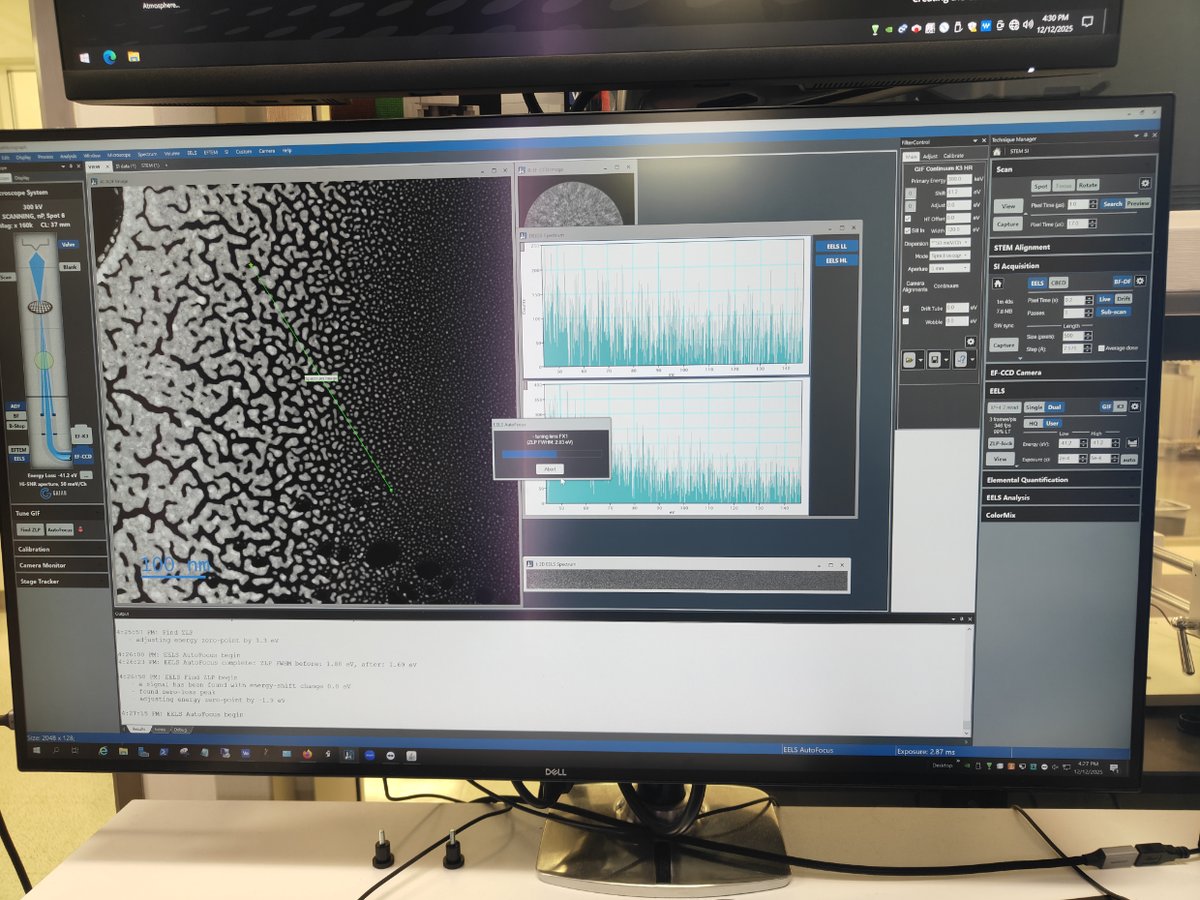
-
-
Find sample area
- Navigate to an area of interest on your sample
-
Start scanning
-
Click
Scan→Viewto see the image
-
-
Adjust gain
- Right-click on ADF image → click
Auto Gain
FIXME: add image showing auto gain result
- Right-click on ADF image → click
-
Stop viewing
- Click
Viewagain to stop live scanning
- Click
-
Capture line scan (1D EELS)
-
Click
Captureand draw a line across the region of interest
-
Go to
EELS→User Mode
-
Go to
EELS→Zero Loss→Extract Zero Loss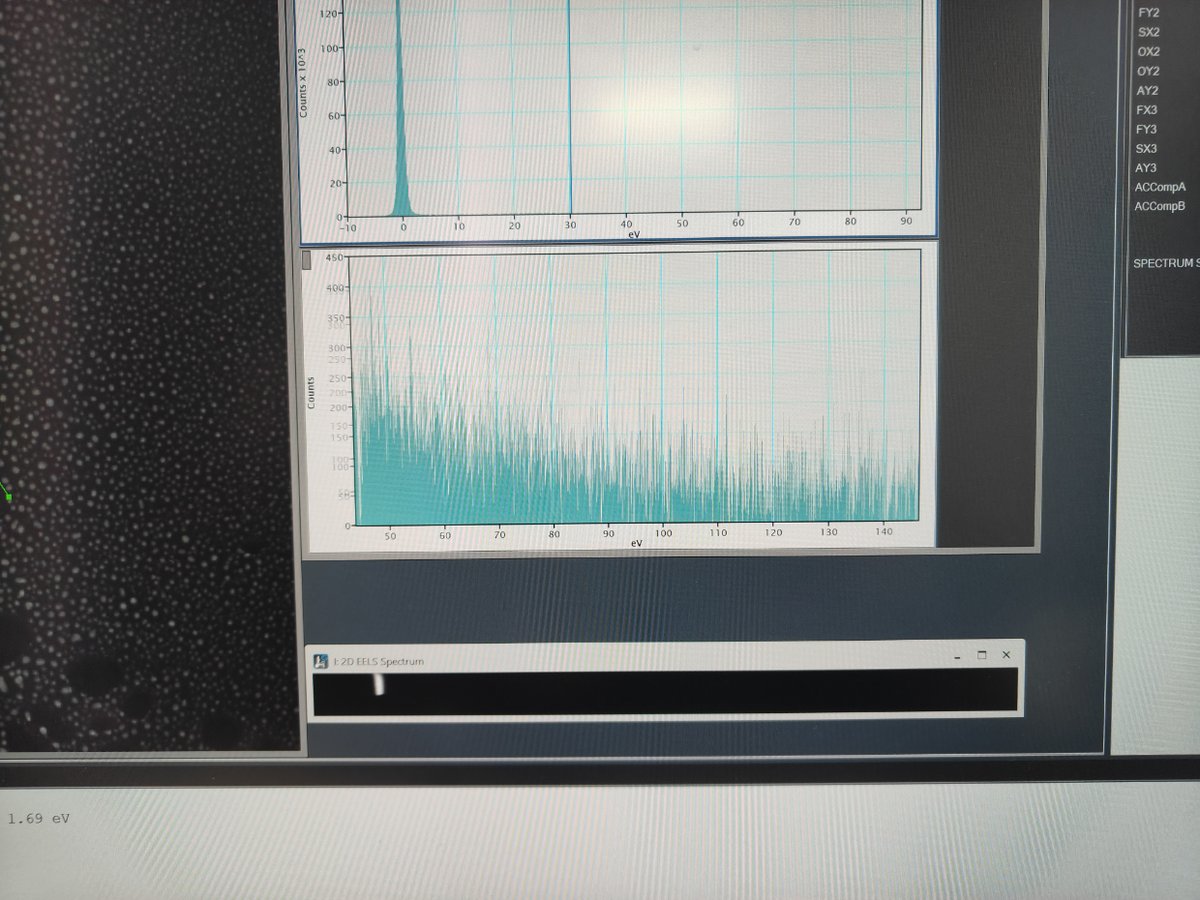
FIXME: clarify what “extract zero loss” does and expected result
-
-
Capture area scan (2D EELS)
-
Click
Captureand select a rectangular area for 2D spectrum imaging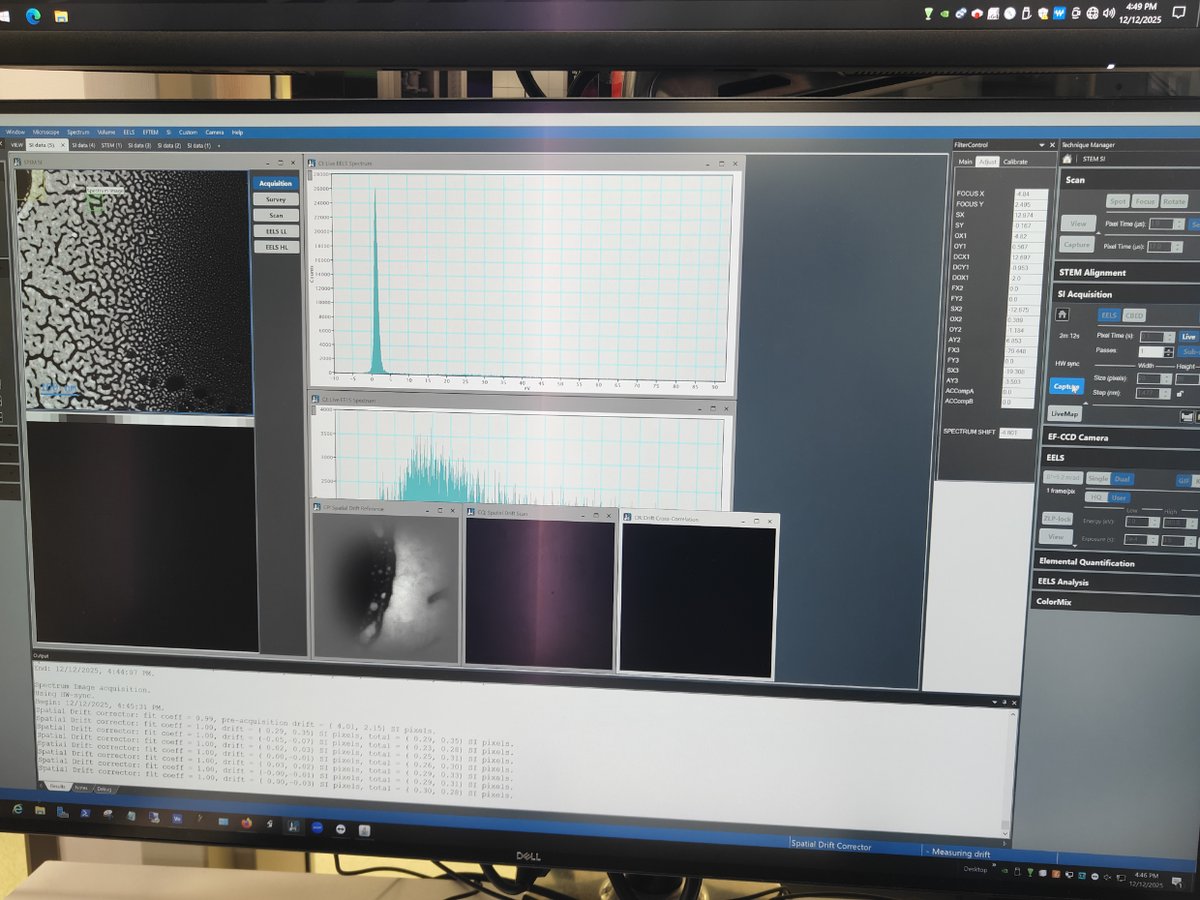
FIXME: add steps for analyzing 2D EELS data, expected output
-
Part 4: End session
Follow the steps in End session.
Changelog
- Dec 18, 2024 - initial rough draft by Guoliang Hu and @bobleesj